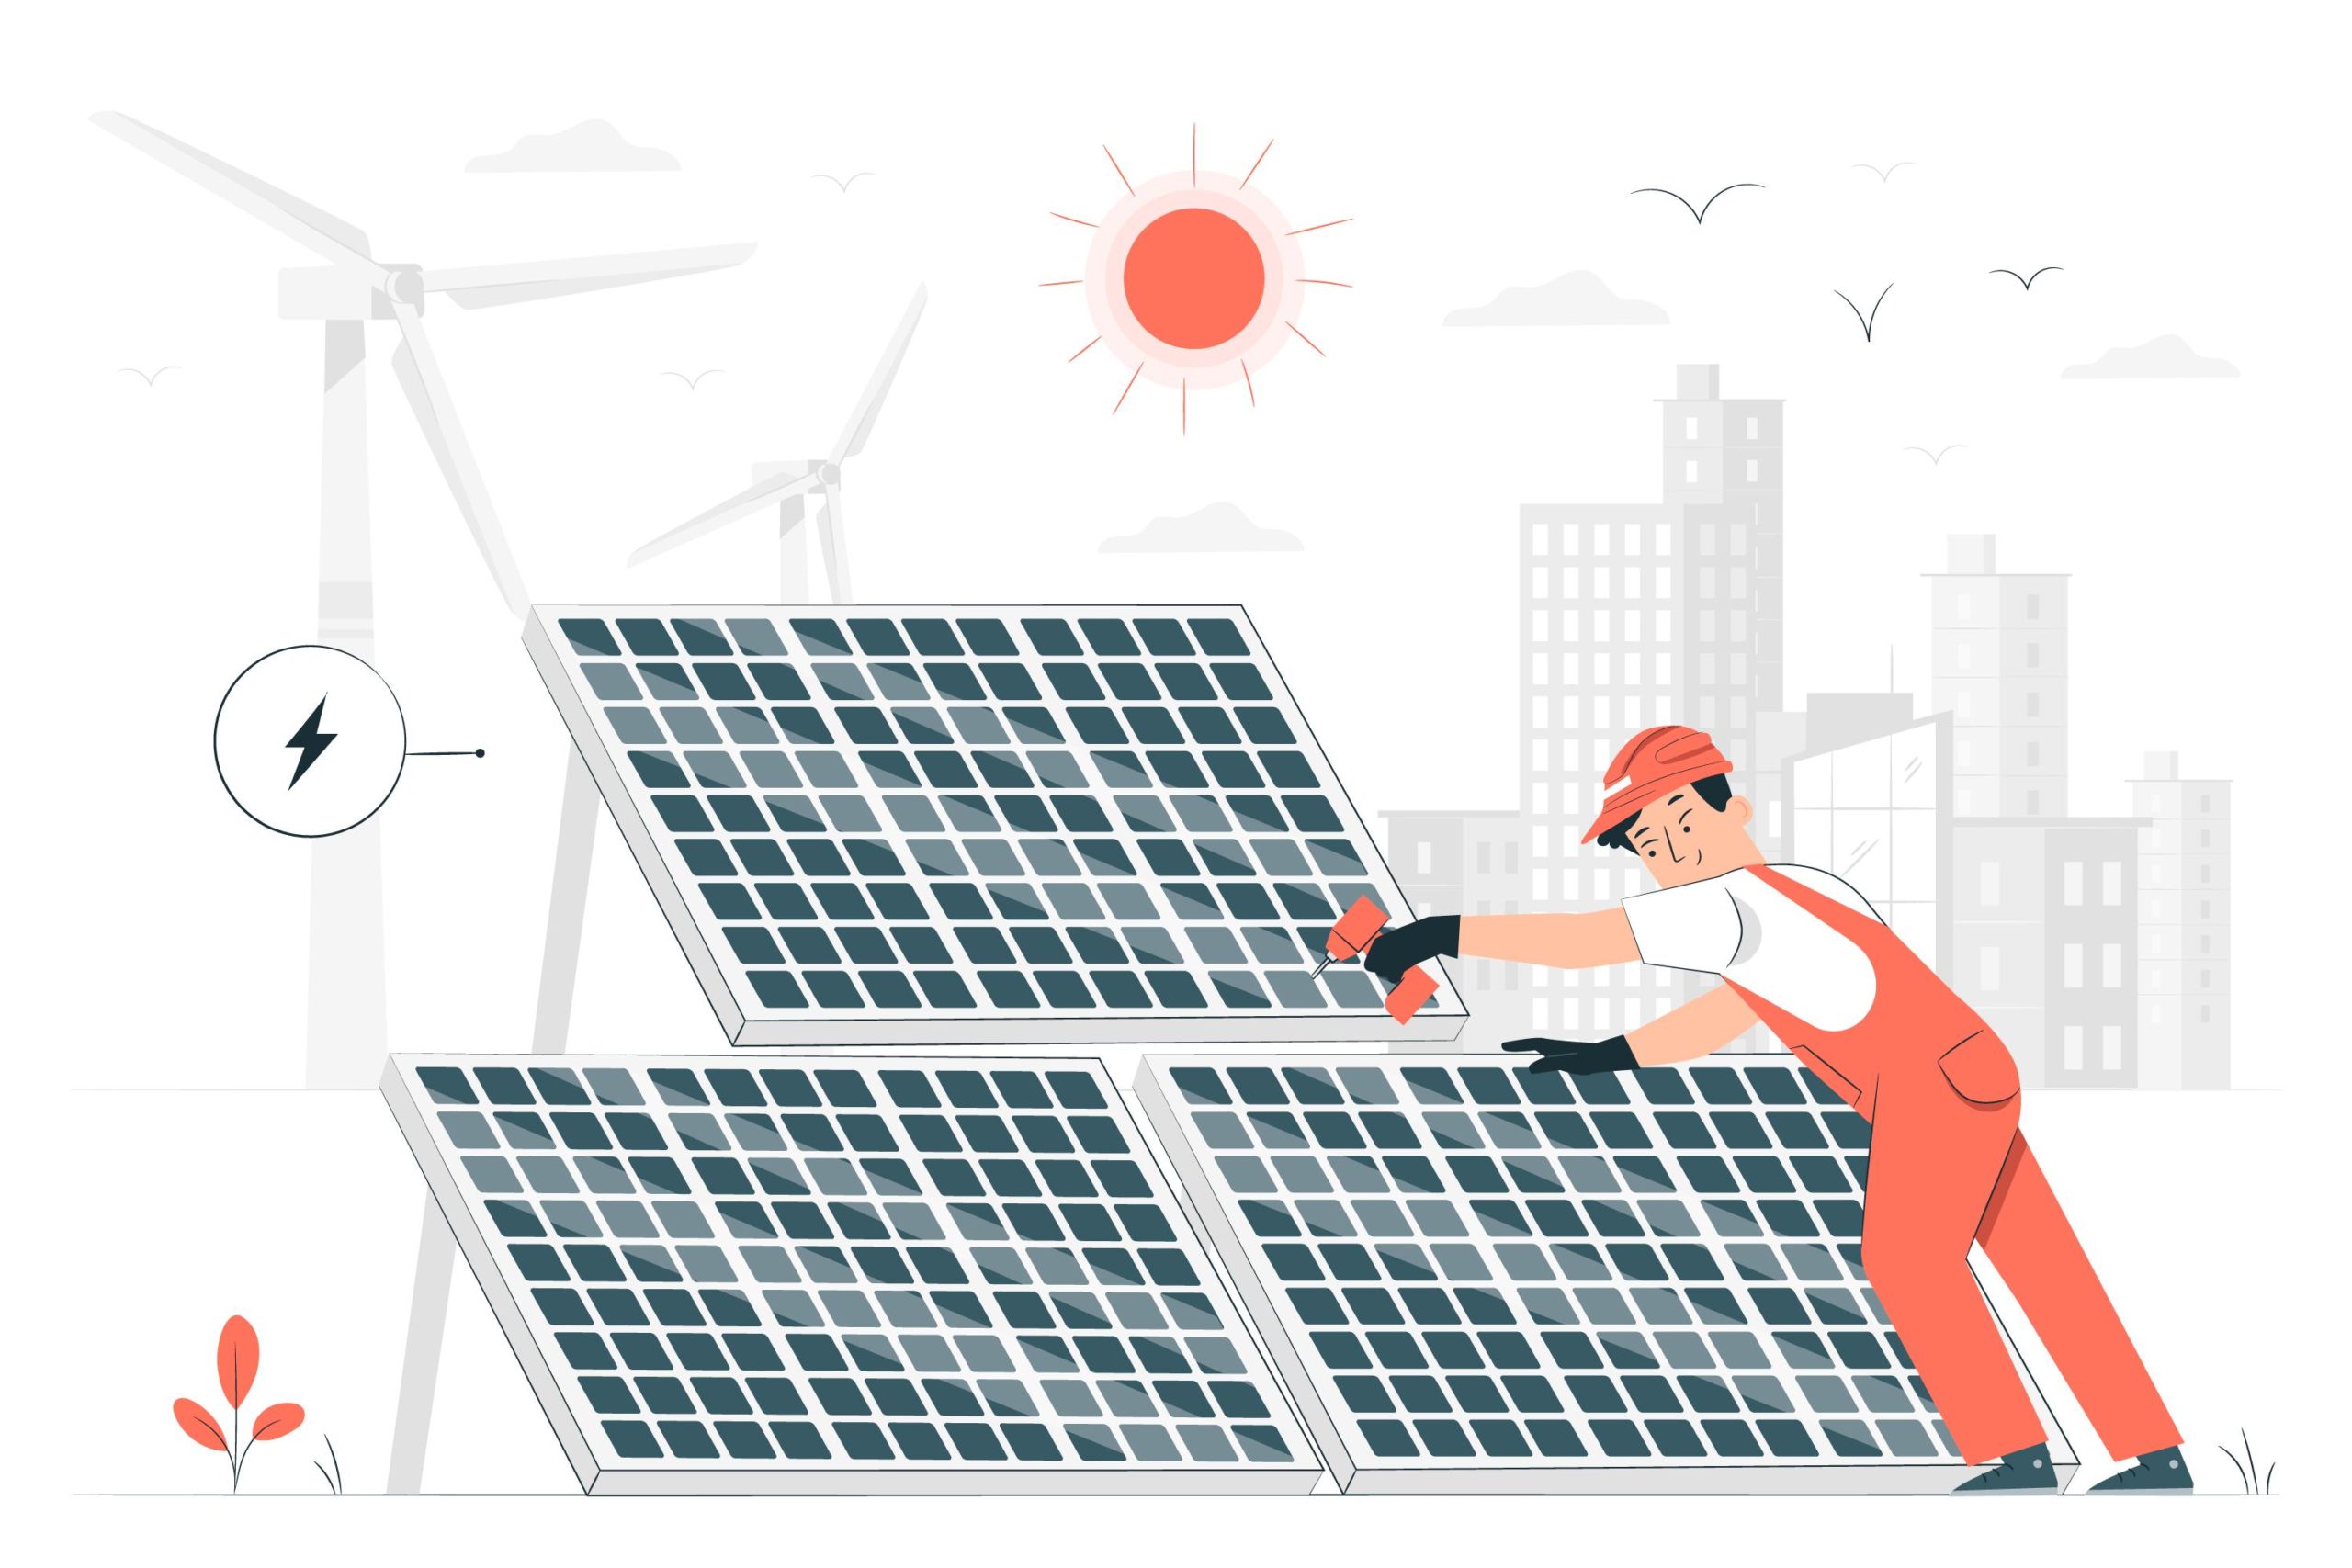
If you’re passionate about advancing clean energy and interested in harnessing solar power for your own projects, whether it’s to reduce your environmental impact or develop new skills, DIY solar projects can be an ideal entry point. In this blog post, we’ll provide guidance and insights into the exciting world of DIY solar projects, spanning from constructing a solar phone charger to setting up small off-grid systems. So, get your tools ready, embrace your inner eco-engineer, and join us on this solar-powered journey!
Understanding Solar Basics
Before delving into our DIY endeavor, it’s essential to grasp the foundational principles of solar power. Solar energy is harnessed by capturing sunlight and transforming it into electricity. This process relies on solar panels, comprised of photovoltaic cells that produce an electric current when illuminated by sunlight. You don’t require an electrical engineering degree to initiate your solar journey, but having a fundamental understanding of these concepts can be immensely beneficial.
1. Building a Solar Phone Charger
Creating a solar phone charger is an excellent first step into the world of DIY solar projects. Not only is it simple, but it’s also incredibly practical. Here’s what you’ll need:
- A small solar panel with a power output in the range of 5 to 10 watts.
- A charge controller, serving to prevent overcharging.
- A rechargeable battery, for instance, a lithium-ion battery.
- A USB port specifically intended for charging electronic devices.
- Essential wiring and connectors.
- An enclosure designed to be weather-resistant, which will house the components and shield them from environmental elements.
Step 1: Design Your Charger
Begin by designing your charger’s layout. Make sure the solar panel can be easily connected to the charge controller, and ensure your battery and USB port are secure inside the weatherproof container.
Step 2: Connect the Components
Wire your solar panel to the charge controller, then connect the controller to your rechargeable battery. Finally, wire the battery to the USB port for device charging. Pay careful attention to the polarity of the connections, and ensure everything is properly secured.
Step 3: Test Your Charger
Before sealing your charger in its weatherproof container, test it by exposing the solar panel to sunlight. Ensure that the charge controller and battery are working correctly, and that your USB port provides a steady charge.
Step 4: Seal and Protect
Once everything is functioning as expected, seal the components in the weatherproof container. Make sure the solar panel is exposed to sunlight while the rest of the components are protected from the elements.
2. Creating a Small Off-Grid Solar System
If you’re ready to take your DIY solar skills to the next level, building a small off-grid solar system is a fantastic project. This can power small appliances, lighting, or even serve as a backup power source. Here’s how you can get started:
Step 1: Determine Your Energy Needs
Before building your system, calculate your energy needs. What devices or appliances do you plan to power? What is their energy consumption? This information will help you select the right components for your off-grid system.
Step 2: Choose Your Components
You’ll need the following components for a basic off-grid solar system:
Solar panels
Charge controller
Deep-cycle batteries
Power inverter
Wiring, connectors, and mounting hardware
Step 3: Install Your Solar Panels
Select a suitable location for your solar panels, preferably where they can receive the maximum amount of sunlight. Ensure they are securely mounted and wired in parallel or series to meet your voltage and current requirements.
Step 4: Connect Your Charge Controller and Batteries
Wire your solar panels to the charge controller, which will regulate the charging of your batteries. Connect your deep-cycle batteries to the controller, ensuring the correct polarity.
Step 5: Install the Power Inverter
The power inverter plays a crucial role in the system by transforming the direct current (DC) sourced from the batteries into alternating current (AC), which is compatible with your household appliances. Connect the inverter to both the batteries and your intended appliances to enable the efficient functioning of your off-grid solar system.
Step 6: Monitor and Maintain
Regularly monitor the performance of your off-grid system and ensure your batteries remain charged. Keep an eye on energy consumption and adjust your setup as needed.
Benefits of DIY Solar Projects
Now that you’ve learned how to create a solar phone charger and a small off-grid system, let’s take a moment to explore the benefits of these projects:
1. Cost Savings: Engaging in DIY solar projects proves to be a cost-effective endeavor, offering the potential for substantial savings on your energy expenses.
2. Environmental Impact: Harnessing solar energy not only lessens your carbon footprint but also contributes to a more environmentally friendly and cleaner planet.
3. Learning Opportunity: DIY solar projects are a fantastic way to learn about renewable energy and electrical systems.
4. Emergency Power: An off-grid solar system can function as a dependable backup power source in times of emergencies or during unexpected power outages.
Safety Tips
As you dive into DIY solar projects, remember these safety tips:
- Make safety your top priority when handling electricity.
- Ensure that you wear the suitable safety equipment, which includes gloves and safety glasses.
- Keep your workspace clean and well-organized to minimize the chances of accidents.
- If you encounter any uncertainties or doubts at any point in your project, it is advisable to seek expert advice or guidance.
Conclusion
Embarking on DIY solar projects is an exciting and fulfilling journey into the world of renewable energy. Whether you’re building a solar phone charger or a small off-grid system, these projects offer both practical benefits and the satisfaction of making a positive impact on the environment. So, gather your tools and let the sun power your creativity! With a little knowledge and a lot of enthusiasm, you can start your solar-powered adventure today.

